Creating a Presentation Video with Haiku Deck is fast and easy. Best of all, during the beta period this feature is free to Haiku Deck Pro subscribers. All you need is a microphone!
This Presentation Video below explains this process and we've written out step-by-step instructions below.
Step 1:
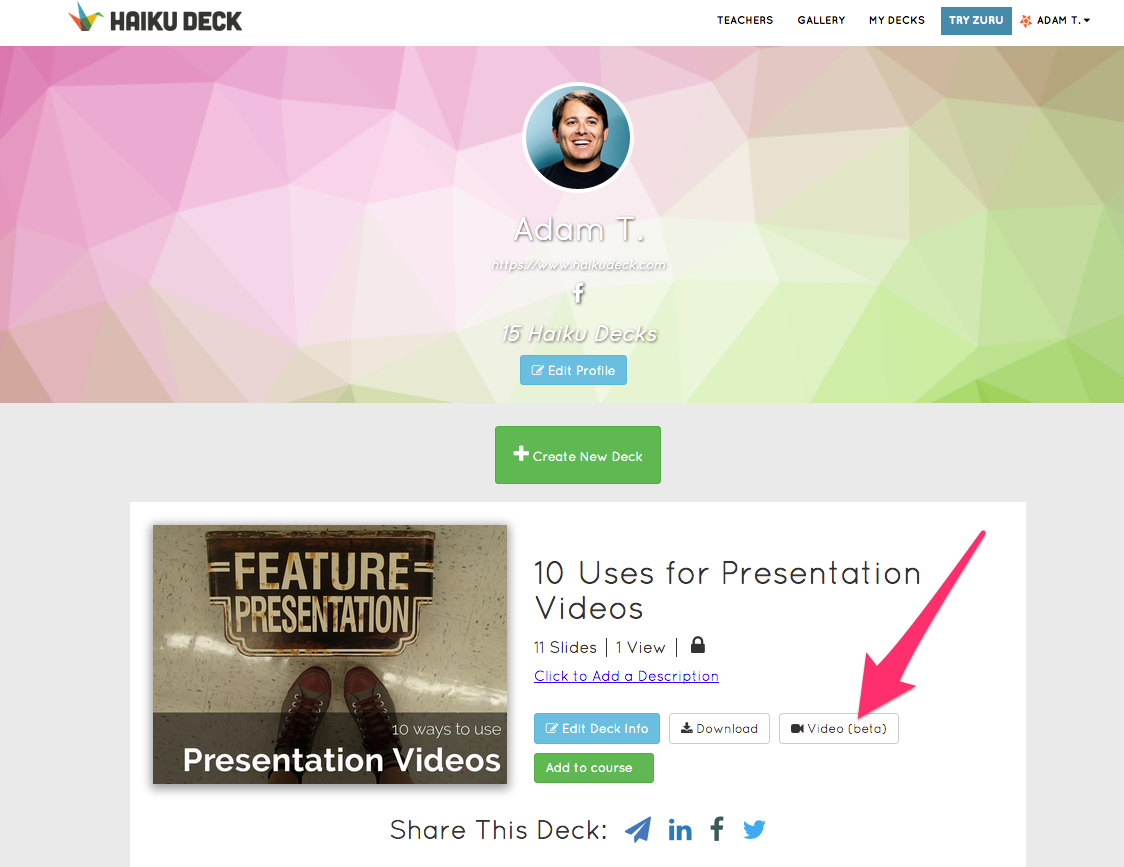
Sign in at www.haikudeck.com and look for the new Video (beta) button shown on the My Decks page of the web app. The Presentation Video feature is only available to Haiku Deck Pro subscribers in the web app during the beta period. If you don't see the button, it means you're not signed into a Haiku Deck Pro account. This feature is not yet in the Haiku Deck iPad or iPhone apps.
Step 2:
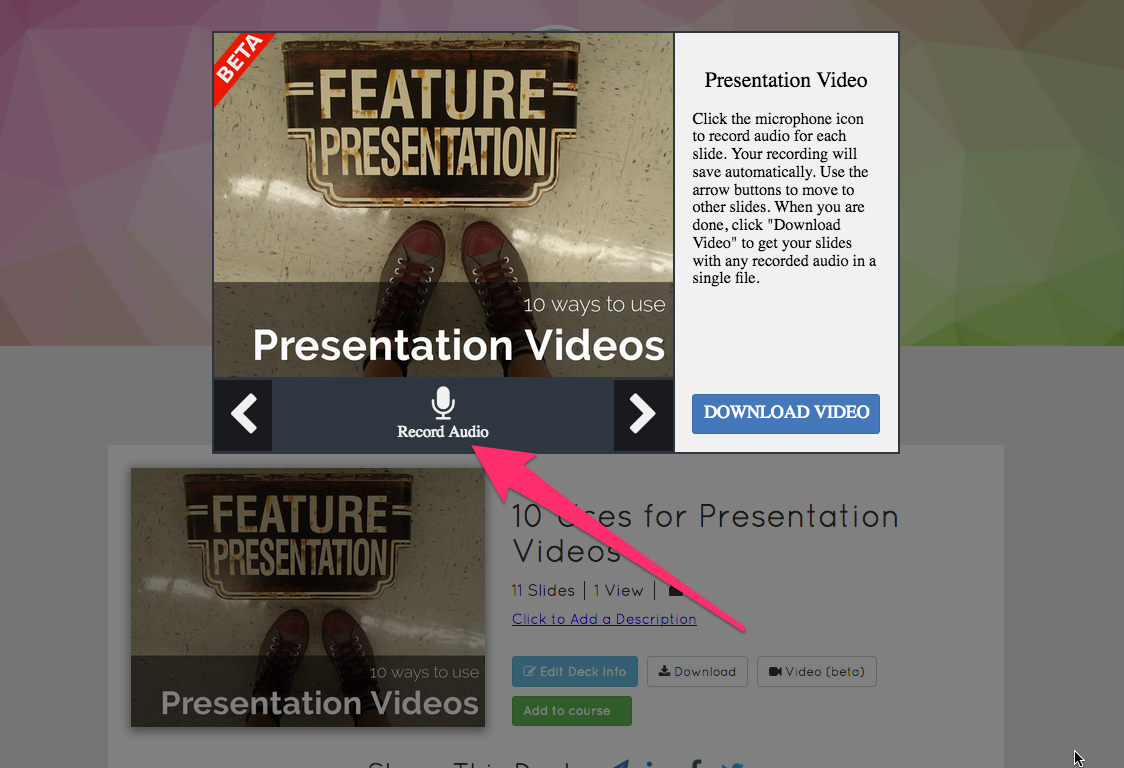
Click the microphone icon to record audio for the first slide. Click the stop button to stop recording. Then click the play icon to listen to your recording. If you want to start again, click the trash icon to remove your recording.
Step 3:
Use the arrow buttons to move forward and backwards in your deck. Repeat step 2 to record audio for each slide.
Step 4:
If you want a video file, click the download video button when you're done. Otherwise, just click off of the Presentation Video window to return to your "My Decks" page. From there you can click play on your deck to open it in playback mode. From there you will see that slides with audio now have a play icon in the bottom left corner. Viewers who click that button will hear your audio recording.
You can go back to step 1 to edit your audio and to download your video anytime.
0 Comments